
My First 3D Print… In Space!

WPP: “Sam, can you design and print a 3D model of Sir Martin Sorrell?”
Sam: “When do you need it by?”
WPP: “5 days from now.”
Sam: “No way! Forget it.”
WPP: “…It’s going to be sent into space.”
Sam: “Consider it done!”
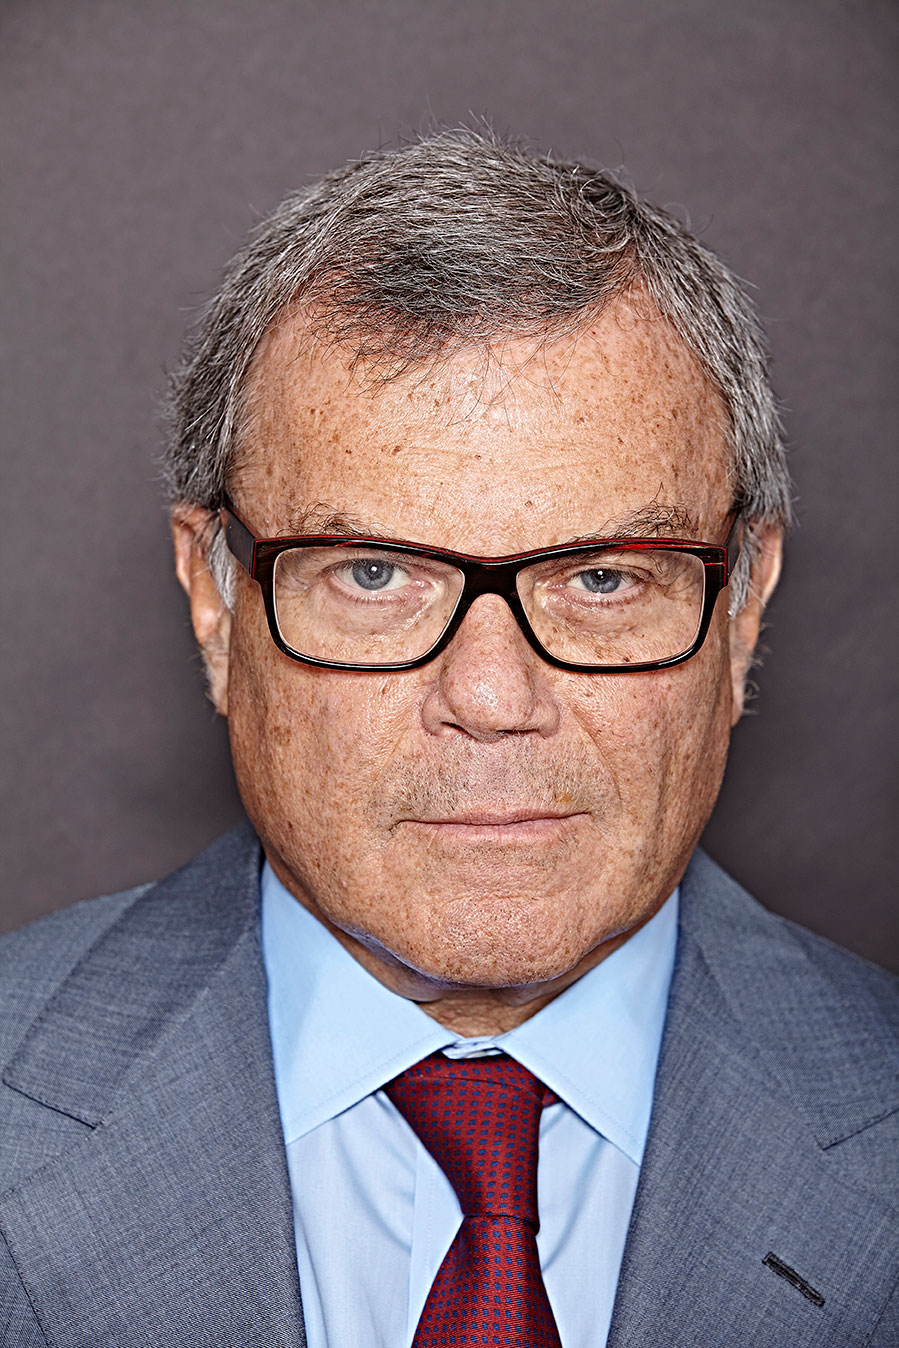
Sir Martin Sorrell. This version isn’t 3D printed.
How to Rapidly Model and Print a 3D Head for Launch into Space
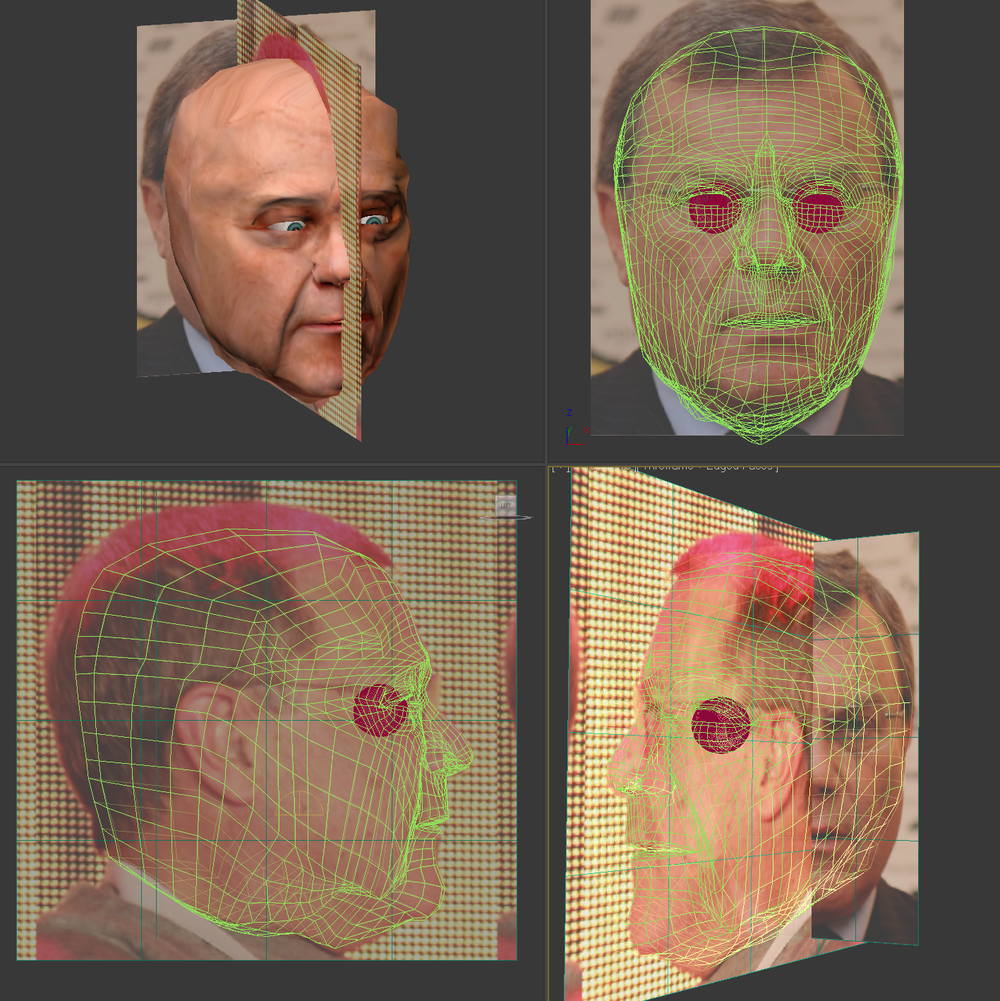 3D modeling the head from front and side reference photos.
Step 1: 3D model the head using photos for reference:
I use patch grids – it’s old-school, but it’s fast and accurate and gets the job done.
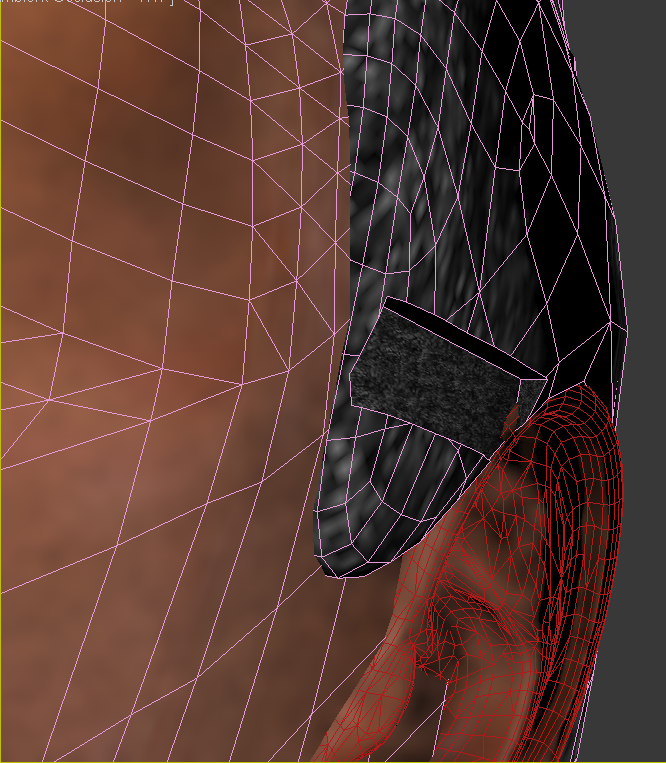 Notch added to hold the glasses in place after they are printed in plastic
Step 2: Add glasses, subtracting a notch from the head for them to fit as a separate part.
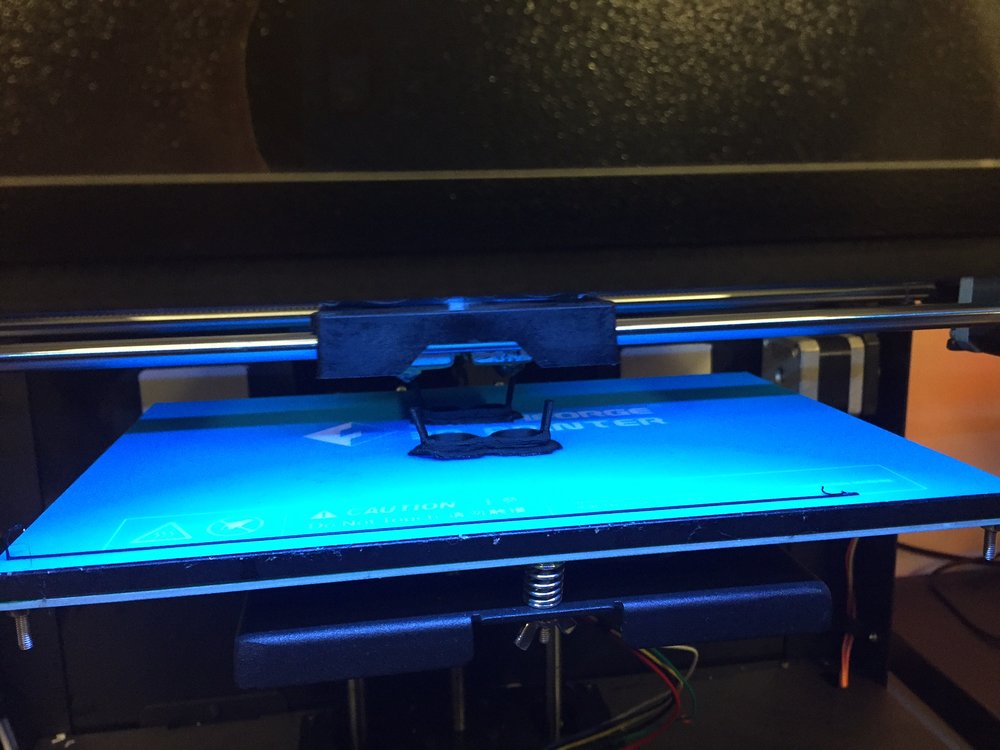 Printing the glasses in Chicago
Step 3: Print the glasses on an FDM printer in black filament:
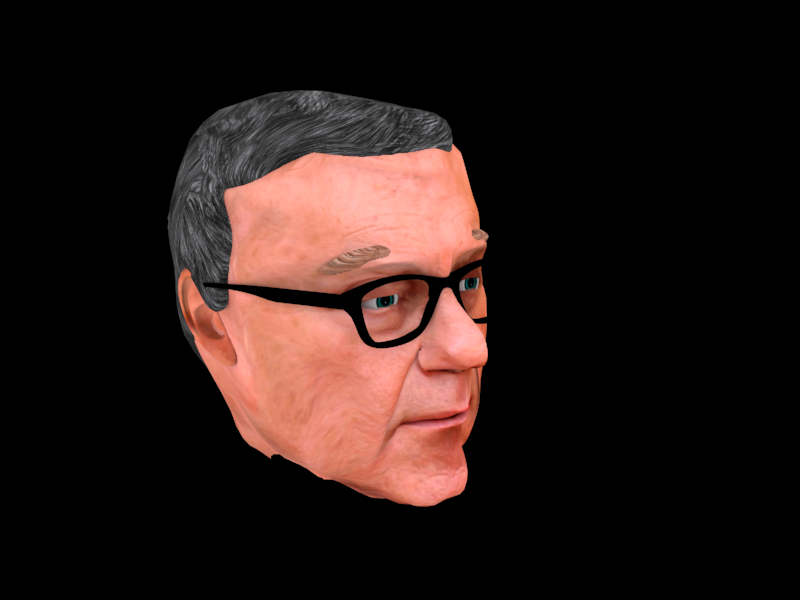 The final textured 3D model
This provides a high level of wire detail and control over placement. Still need to ‘puff them up’ a bit to be printable. Thanks VisMed3D!
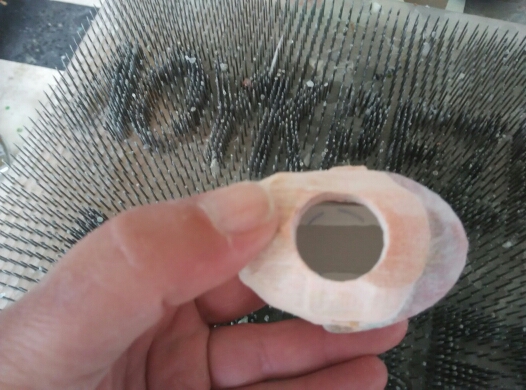
Lightening the payload
STEP 4: HOLLOW-OUT 3D THE MODEL.
It has to be less than 100g for this spaceflight!
Be careful! Too much hollowing makes it brittle:
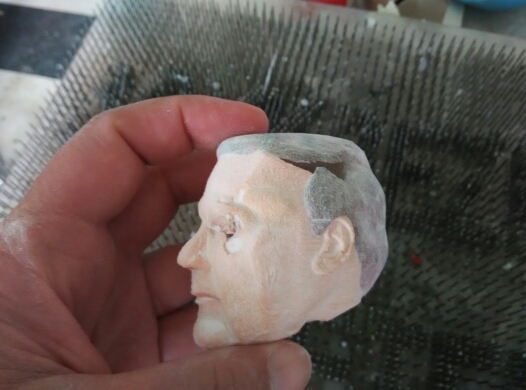
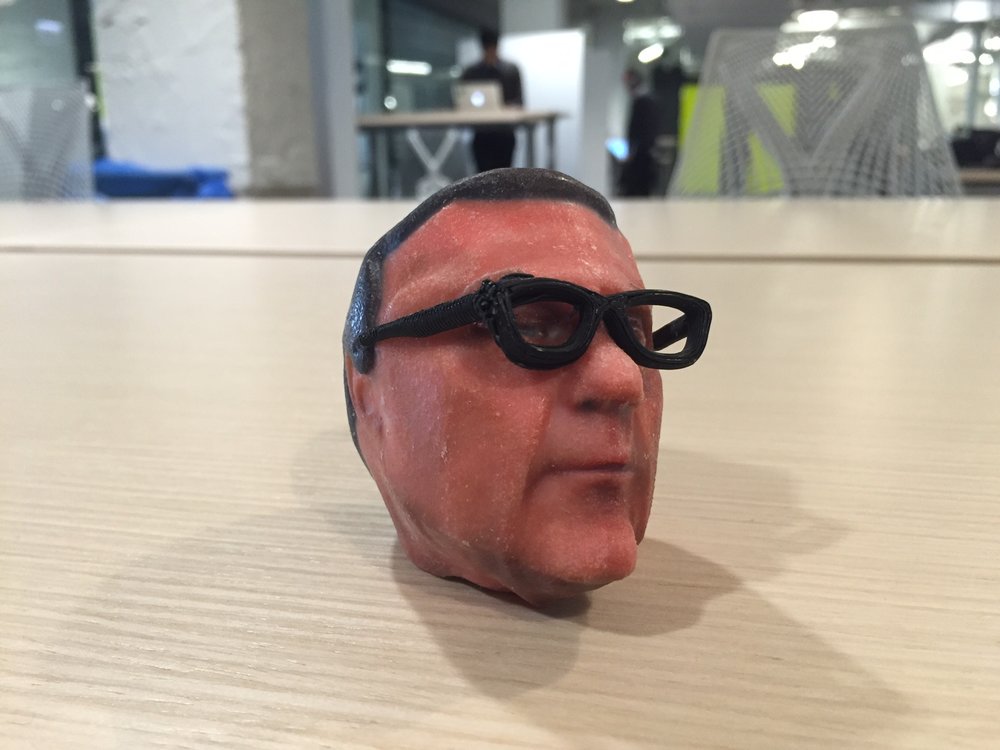 A final print
Step 5: Print! The head is printed on a Zcorp ProJet Color composite printer.
Primary print done via Sculpteo in Belgium.
Contingency plan in case of a customs delay: a backup is printed on the only Zcorp Color Sandstone Printer in Athens.
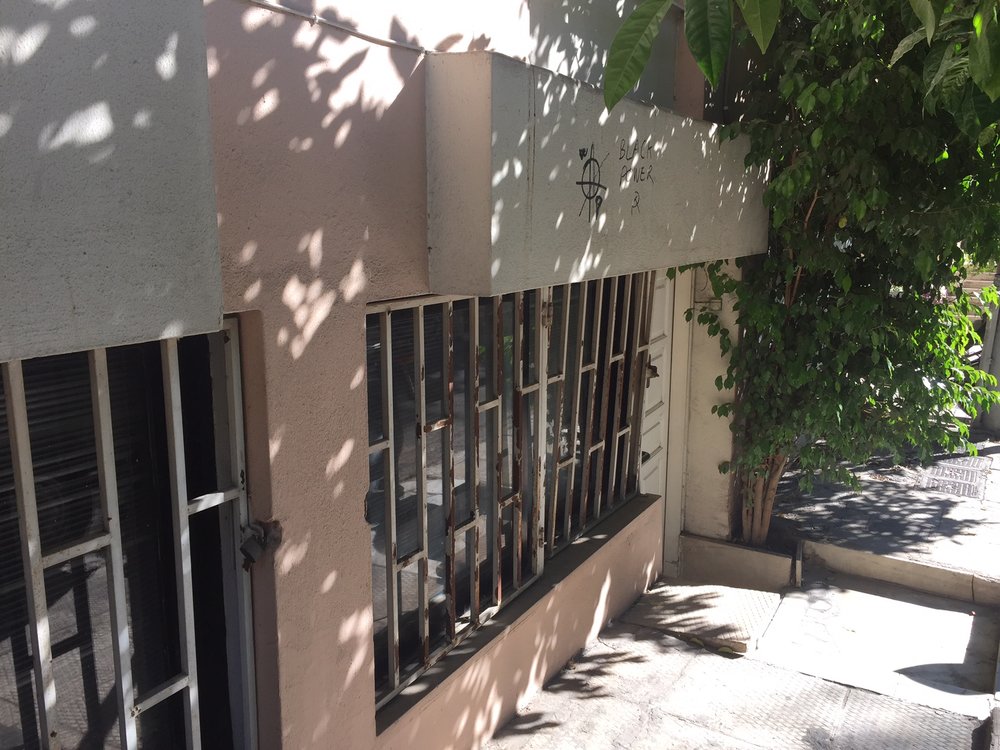 The only ZCorp color 3D printer in Athens is behind those metal bars on a quiet residential street.
Thanks, Loukrezis!
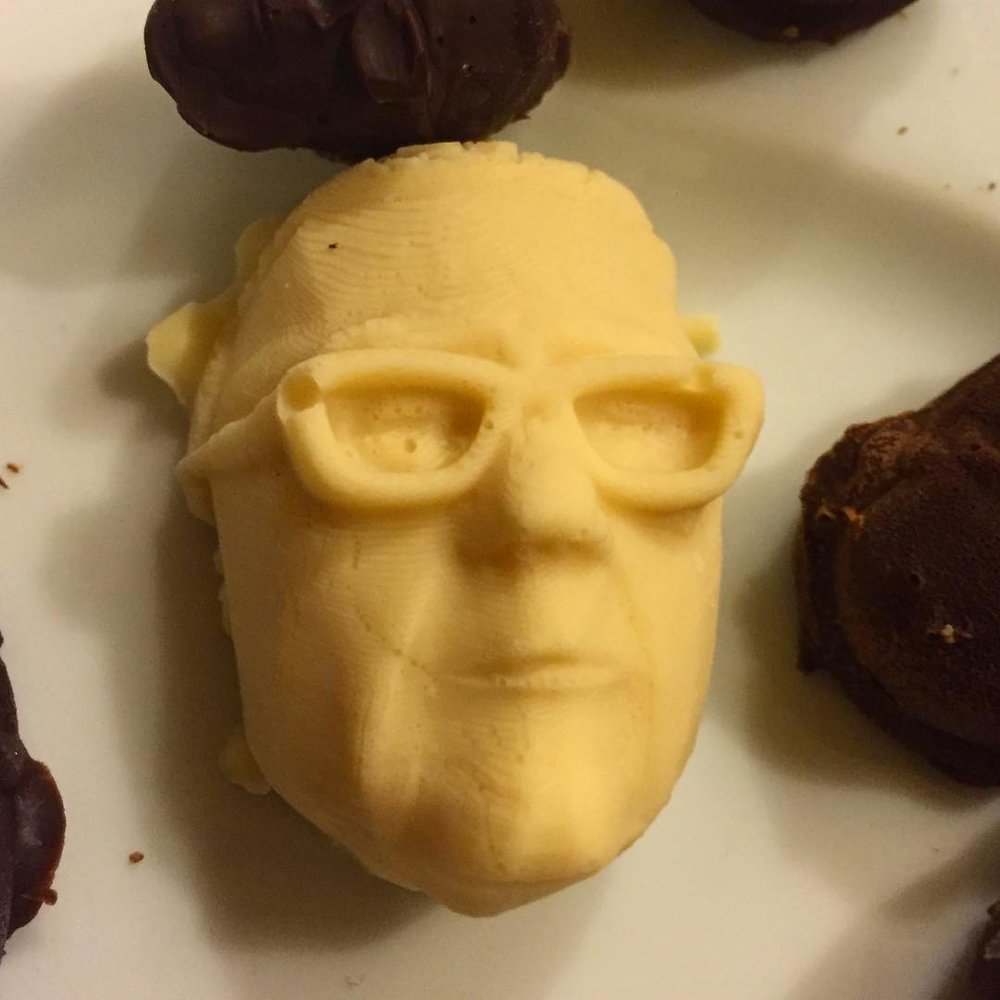 mmmm….Chocolate.
Step 6: Cast a silicon mold from the 3D print – and fill it with melted chocolate.
It’ll harden in 15 minutes in the freezer.
Not necessary for spaceflight, but certainly takes the edge off if the launch fails and the payload is destroyed.
Step 7: Launch!
Amazing work by James, Adam and company!
Make sure you choose the right glue. In these extreme conditions, most terrestrial adhesives will fail, sending a pair of 3D printed glasses plummeting toward earth.
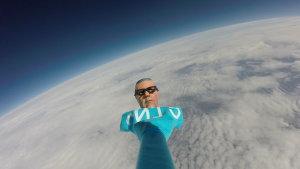
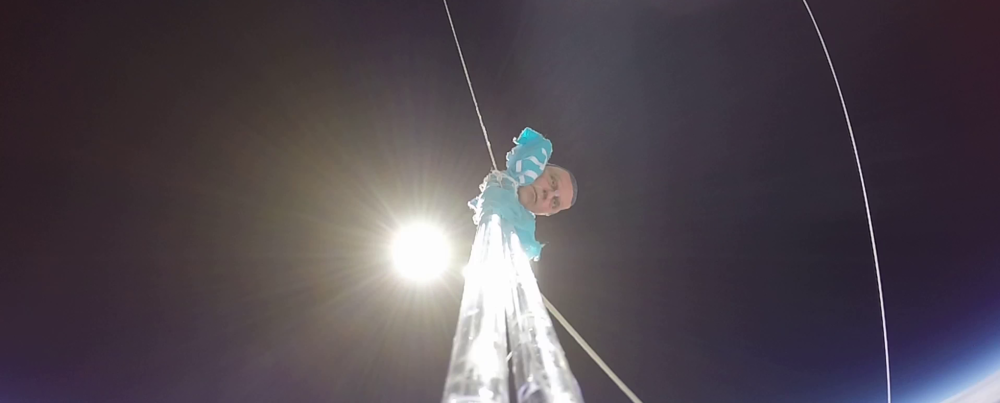 The sun… surrounded by the blackness of space.
 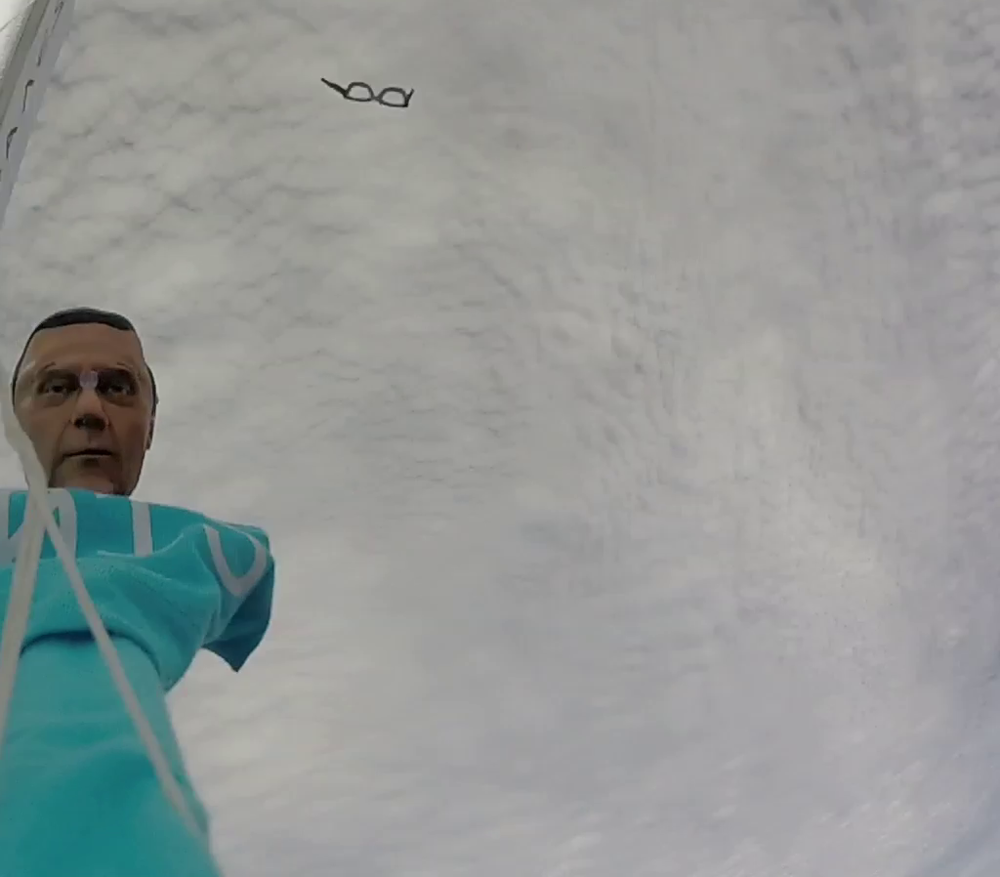 Adhesive failure
oh man, so fun. winning!
Hey Sam!I saw your amazing photo of your print in space, and I’m wondering if you can tell me a bit more about the project? I’m curious, what the occasion that led to your 3D Print going into space?
Excited to hear more.
Cheers,
Jess