
3D Printing with a 4-Year-Old: Plastic, Ice, and Chocolate

My daughters are growing up in a world where you can create almost any object you envision. You don’t need your own factory in China, heavy machinery, blowtorches, or years of experience. The barriers are collapsing – and the range of things you can design and fabricate yourself is increasing rapidly.
I want my daughters to grow up knowing that they can have whatever doll/toy/bracelet/hair clip/phone cover/etc. that they want – as long as they design it and make it themselves.
I was watching Frozen Fever with my daughter Ariella the other day… Disney Animation’s new animated short introduced a new set of characters into the Frozen universe: The mini-snowmen (ca-ching!).
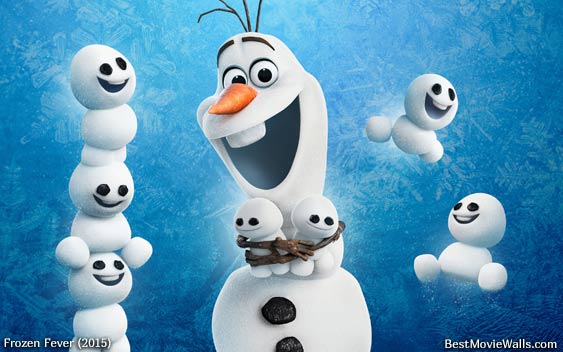 Frozen Fever Mini-Snowmen. Disney is going to make a fortune.
These snowmen are made out of simple geometric primitives (spheres and such) – which gave me an idea…
How to Make Frozen Snowmen out of Plastic, Ice, and Chocolate with your Four-Year-Old
1) Make a 3D Model
First, I searched for easy-to-use iPad 3D software. Autodesk 123D Designer seemed like the best option. I was surprised at how quickly Ariella mastered the interface: rotating the camera, selecting objects, and placing them. Certain things (like zoom and scale) were too complicated for her, but she moved along quickly.
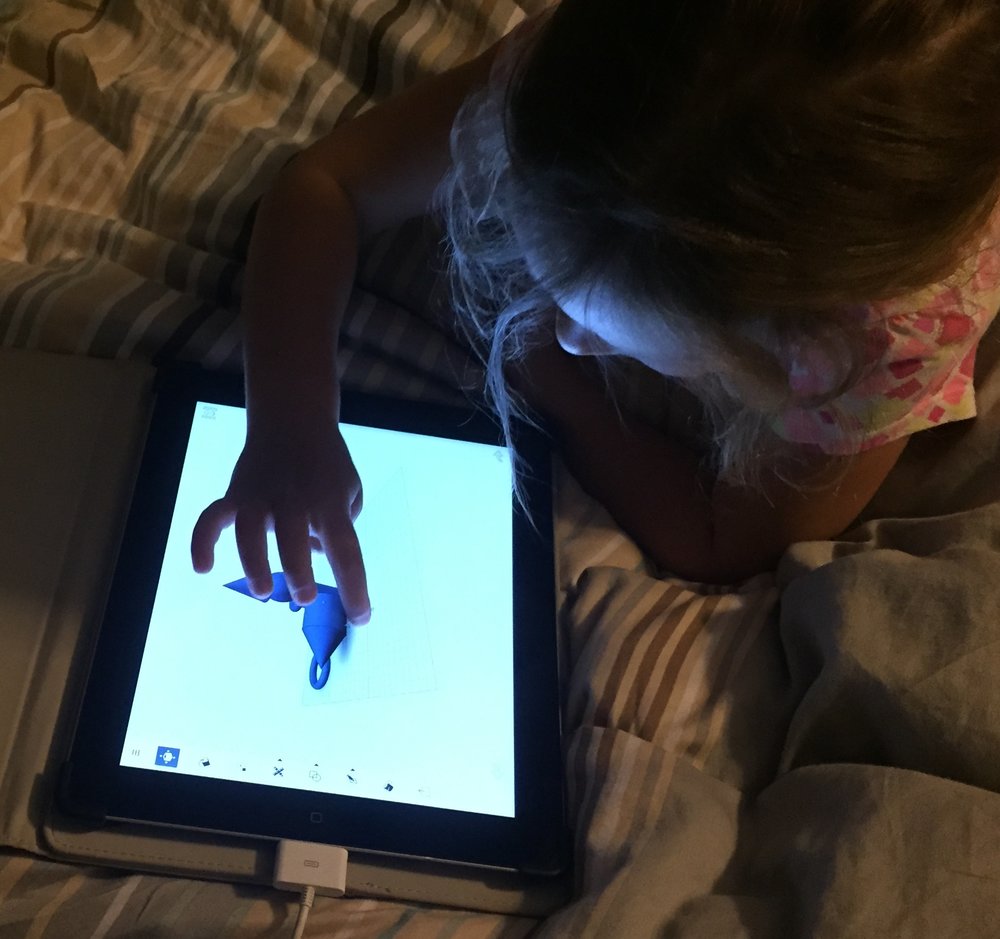 Ariella using Autodesk 123D Designer
Starting Simple:
Ariella came up with simple objects she could make herself with the geometric primitives (planet, ice cream cone).
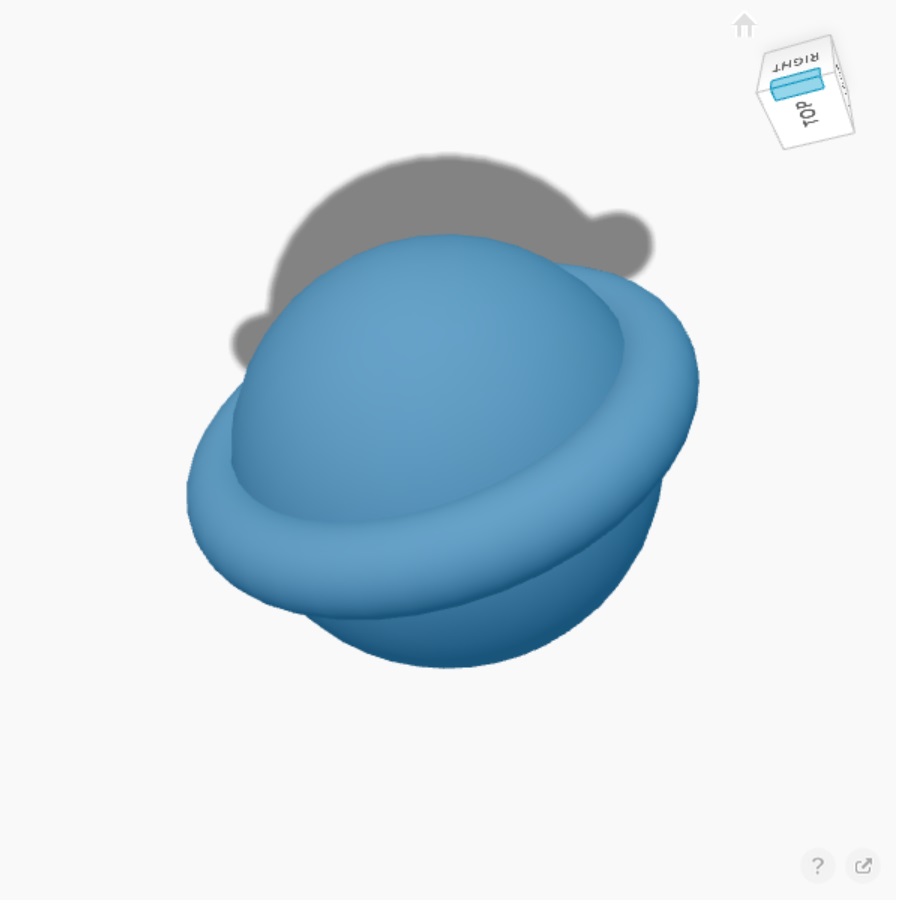 Planet
Then, she played around with dropping lots of primitives to make buildings and castles.
 Castle
Finally, we made the snowman – Ari picked out the necessary primitives, and daddy helped with subtraction (for the mouth), and fixed the placement.
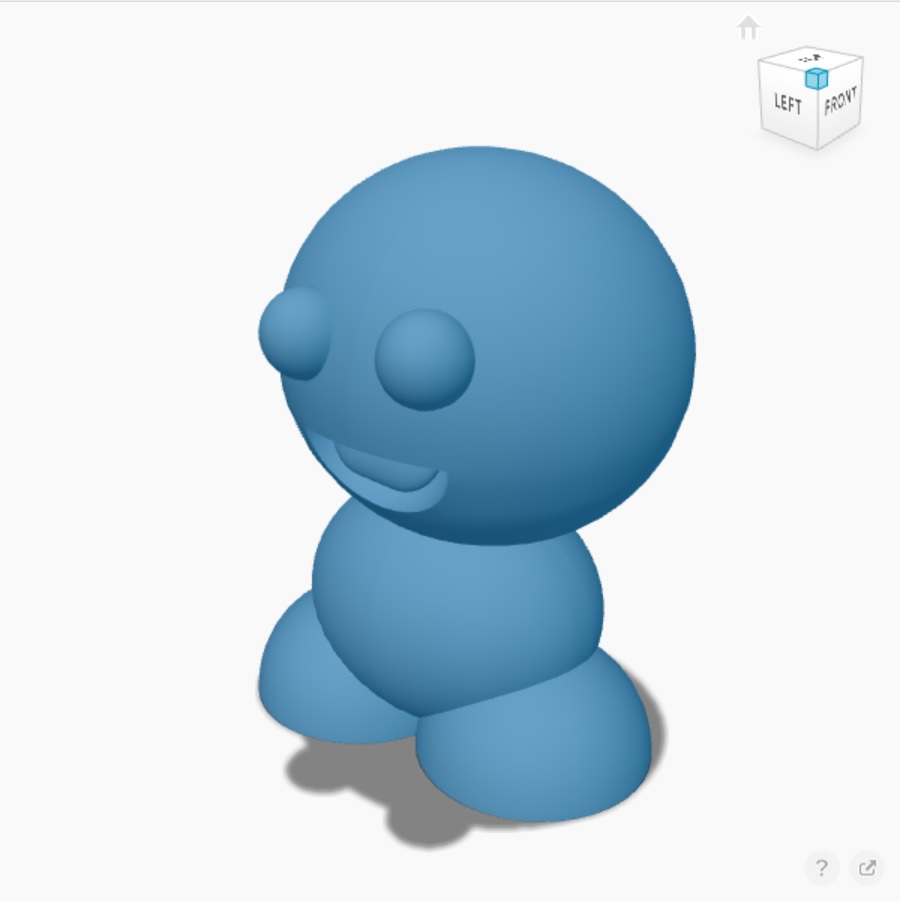 Snowman
2) Print it!
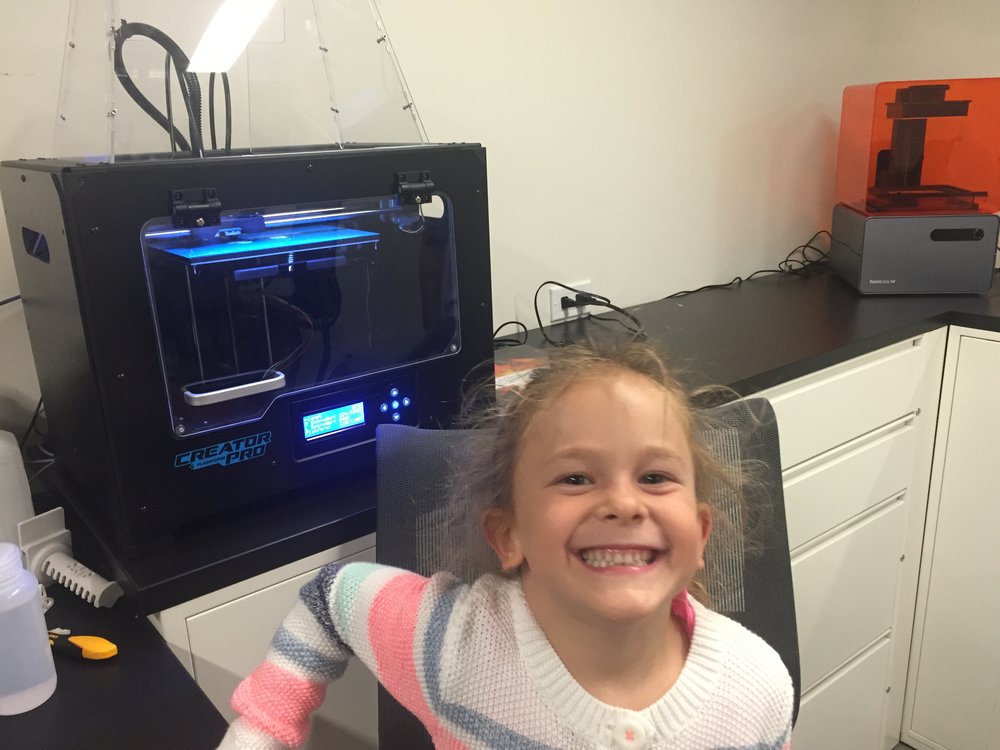
Autodesk 123D lets you export you models as an STL file from their cloud service. Ari and I took the ‘L’ train to my office at Matter, where VISMED3D has a lab of 3D printers. Ari could watch her toys be printed live! Thanks, VISMED3D!
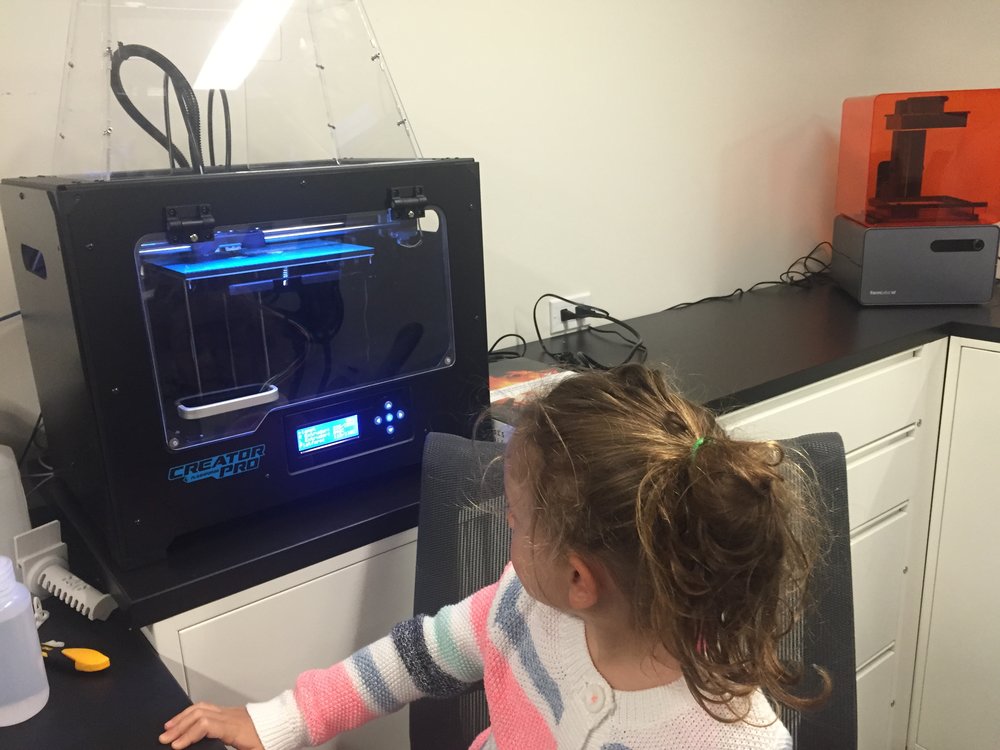 3D PRINTER
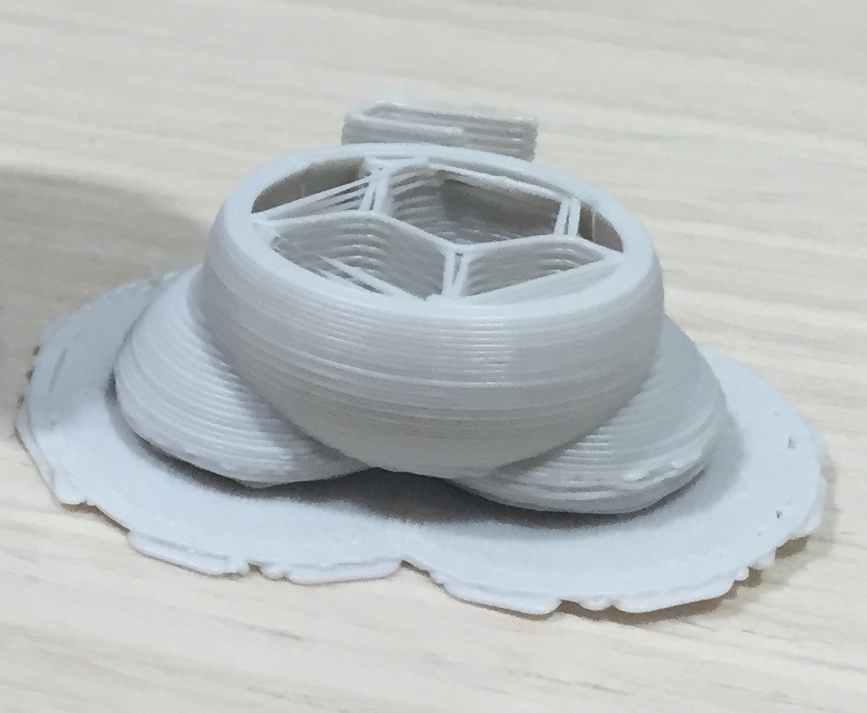
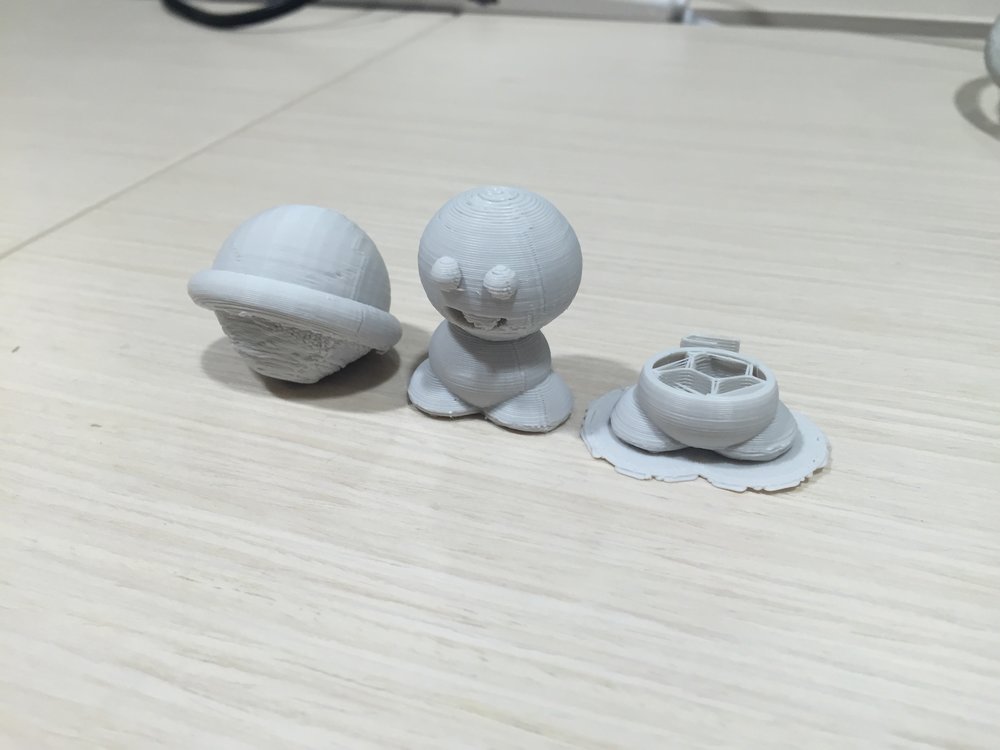
The first time around, the printer failed in the middle of the snowman. This provided an opportunity to see how the printer constructs the objects and fortifies the interior with a strong inner structure that uses the minimum amount of plastic:
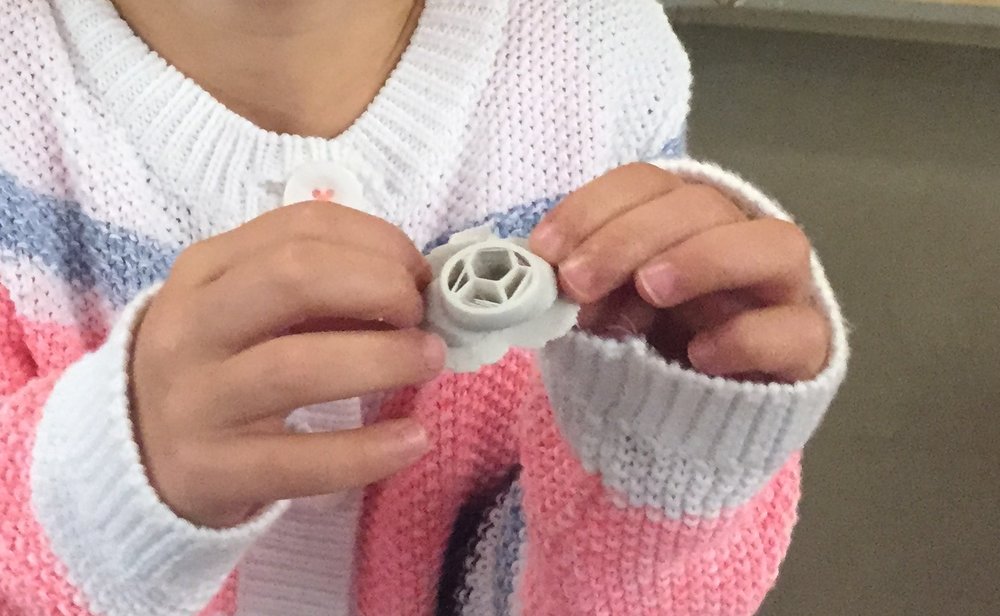
Voila! Ariella’s own Frozen mini-snowman that she made herself!
3) Make a Food-Safe Mold
Easymold Silicone Putty makes this simple. You combine the white and purple putty in equal amounts and squish them together – mixing them until it is all the same shade of light purple.
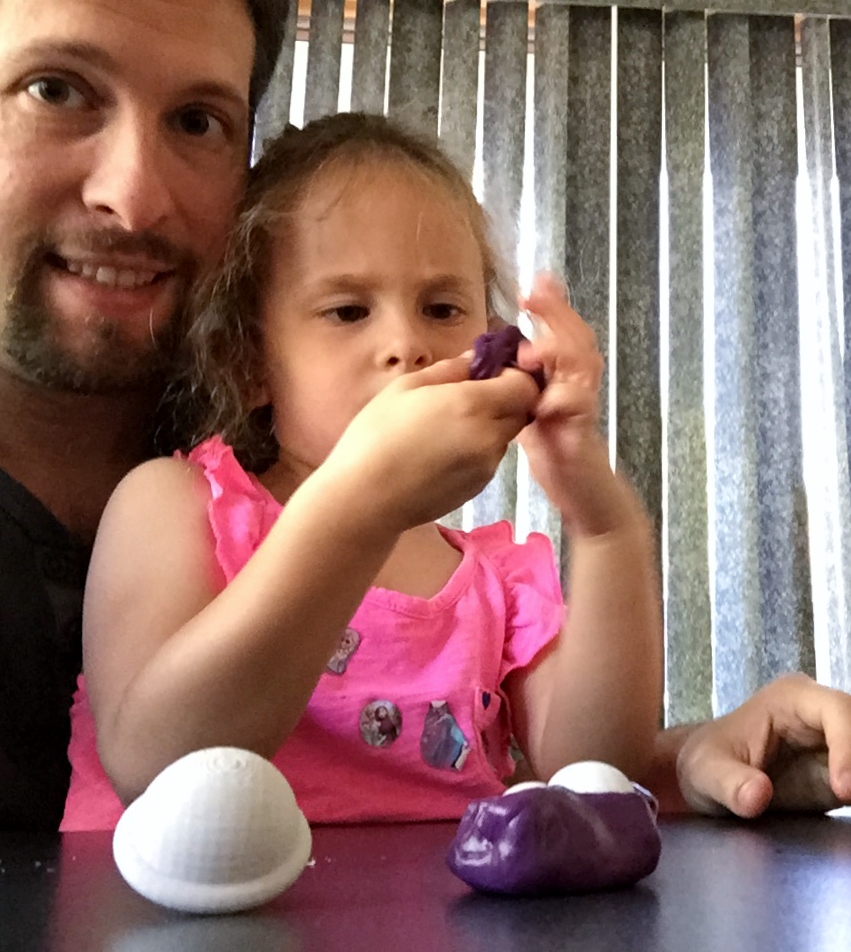
Quickly insert the object you want to cast a mold out of, and let it sit for 20 minutes to harden.

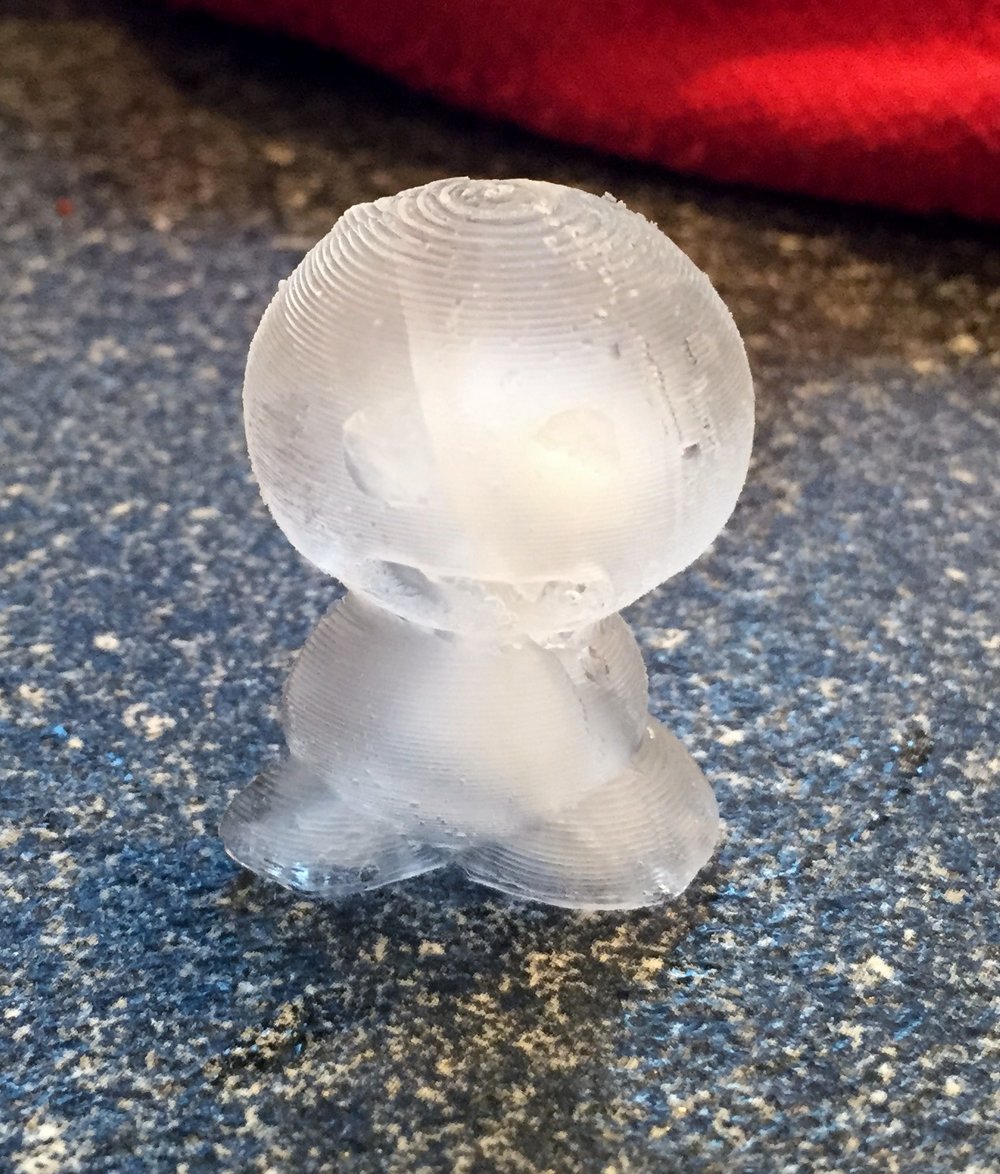
4) Make Snowman Ice Cubes
Simply pour water into your mold and freeze for 3-4 hours.
5) Make Snowman and Planet Chocolates
Melt chocolate bars or chocolate chips in the microwave for a minute or so, and then stir until fully melted. Pour it in to the mold. Tap the mold against the counter to release the air under the chocolate – bubbles may form at the top while you do this.
Put it in the freezer for 15 minutes (that’s all it takes)… and there you have it! custom-made chocolates!
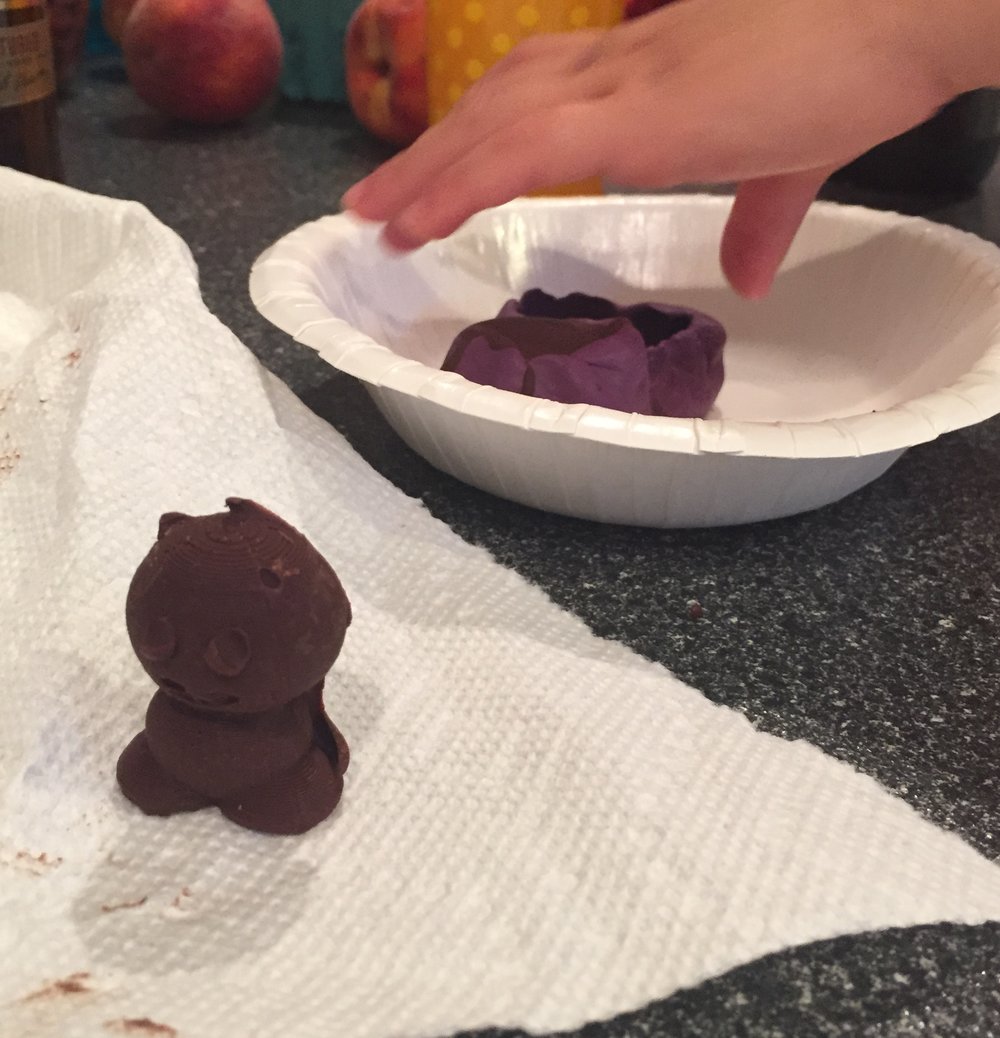
Yummy!
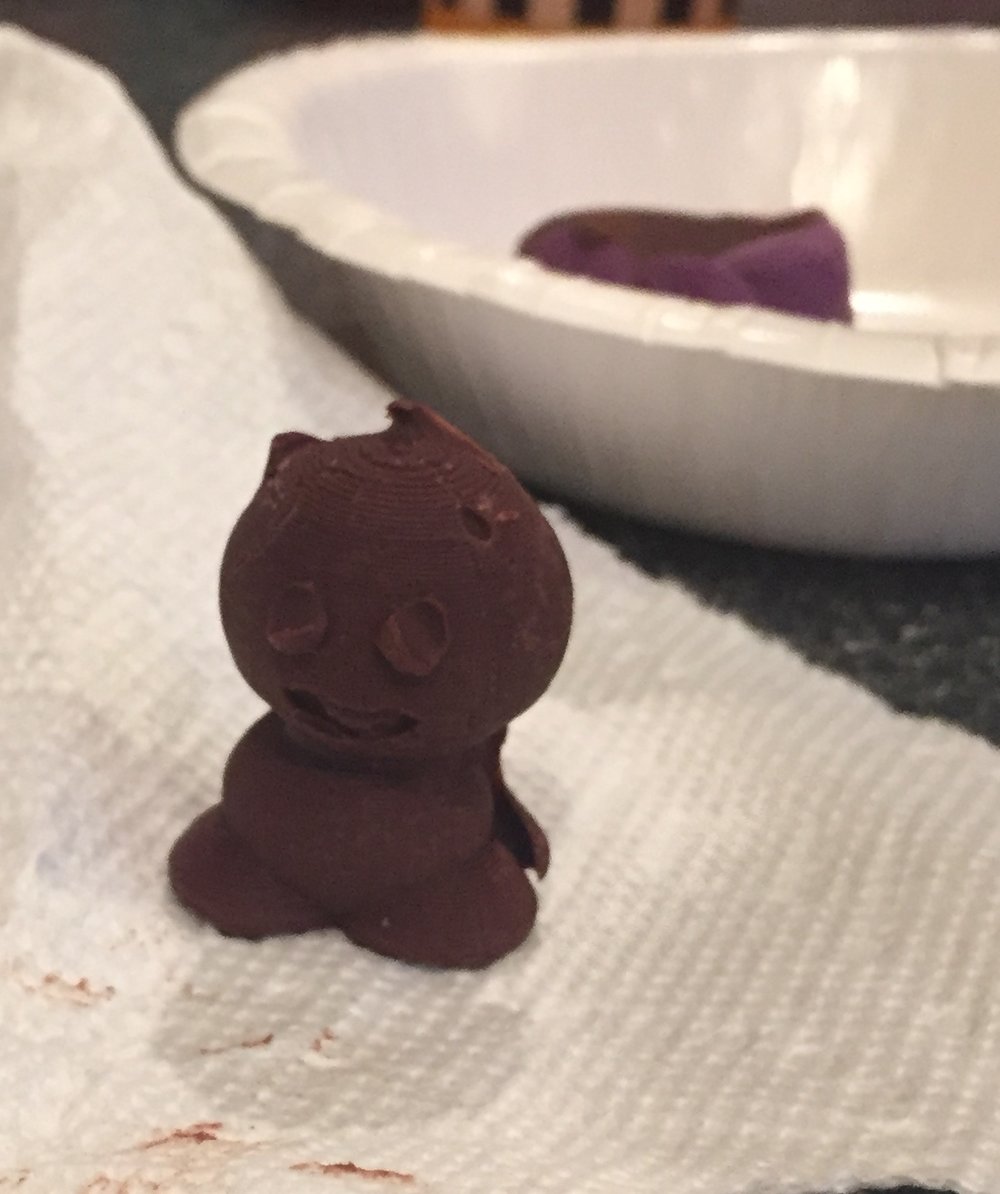
 3D-printed chocolate is extra yummy!
so fun! the “can do” attitude to “what if” questions like this must be so powerful with kids. great inspiration. hope we do things like this with brooke soon too!
Thanks, Ryan!Looking forward to seeing the crazy activities you come up with for Brooke…
This is great! I’m looking forward to when my child is old-enough for an activity like this.